


Help Topics
Contact Us
Have feedback? Can't find your answer in our Help pages?
Prepare Reflowable and Print Books with Kindle Create
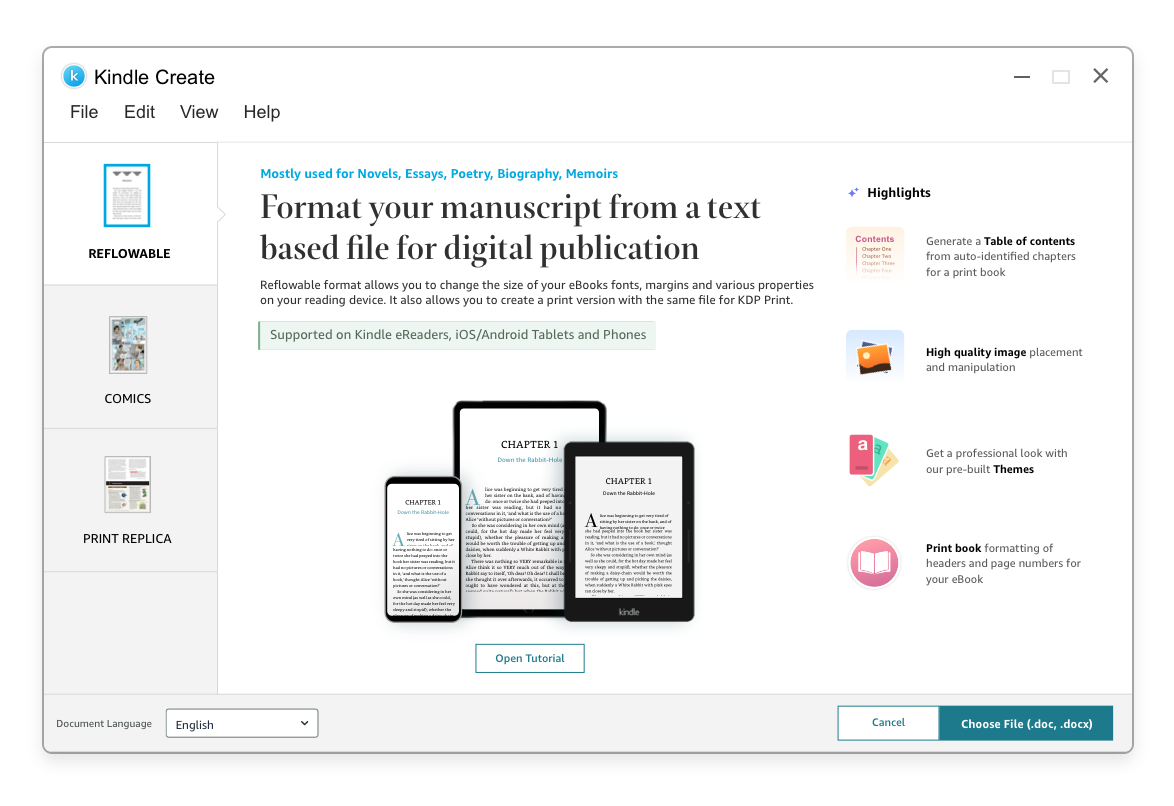
When you import a book into Kindle Create in DOC OR DOCX format, your file is converted to a "reflowable" eBook, which allows the reader to resize text and is available on all Kindle devices and free Kindle reading applications. Kindle Create works with several word processing applications (e.g., Microsoft Word, Apple Pages, Google Docs) that export to the DOC(X) format.
When you click Export, Kindle Create produces a publishable file (KPF) that you can submit to KDP. The KPF file is only used for publishing. The KCB file is for updates.
Kindle Create detects possible chapter titles and displays them. After you revise and accept the entries, they're used to create two types of TOCs, the TOC page and the Kindle Interactive TOC.
To insert a TOC page:
When you apply title elements (Chapter Title, Page Title, Book Title, Part Title), they’re used to create a TOC entry. Sections marked with an orange dot aren’t included in the TOC:

If you want a section included in the TOC, apply a title element, usually Chapter Title.
Language note: If your DOC(X) file is in one of the supported Indic languages for eBooks (Hindi, Tamil, Malayalam, Marathi, or Gujarati), Kindle Create only displays two themes: Classic and Modern.
Note: When formatting text, apply fonts to paragraphs only when you have to differentiate them from the rest of the body text. Applying a font to all of the body text leads to a poor experience for readers because they can't choose their preferred font on their device.
To insert a hyperlink:
To remove a hyperlink:
To help in print preparation, Kindle Create also offers the following:
Note that Kindle Create doesn't support reflowable or Print Replica books in Japanese.
Want to test Kindle Create on a sample file before using it on your own book? Check out our tutorial.
After installation, you can launch Kindle Create by selecting Windows key > Amazon > Kindle Create (Windows) or Launchpad > Kindle Create (Mac).
Contents
- Known limitations: tables, lists, and footnotes
- Create a new project from a DOC(X) file
- Edit your Kindle Create eBook
- Create a table of contents
- Choose a theme
- Add front matter
- Format the first page of each chapter
- Format other text
- Add back matter
- Edit text
- Add text
- Add or change images
- Insert, edit, and remove hyperlinks
- Prepare your book for print
Known limitations: tables, lists, and footnotes
Tables, lists, and footnotes can't be edited in Kindle Create. If you need to edit them after importing your document to Kindle Create, make the change in the source application (e.g. MS Word), and then copy and paste the new content into Kindle Create.Create a new project from a DOC(X) file
- On the Kindle Create launch screen, click the Create New button. You can also launch a new project by selecting File > New Project or using the shortcut CTRL + N (CMD + N for Mac users). The Choose File dialog box is displayed. Click the Reflowable option.
- In the Document Language list, select the language of your book. (This does not change the language of Kindle Create menus.)
- Click the Choose File button, navigate to the DOC(X) file on your local hard drive, select the file, and click Open. After you choose a file, Kindle Create begins converting it to a Kindle eBook. Conversion optimizes font faces, line spacing, margins, indents, and other typography features to improve reading on electronic devices. It also converts every page break in your DOC(X) file into a new section. While your file is imported, Kindle Create displays rotating screens that tell you more about Kindle Create. When conversion finishes, the Import Successful dialog box is displayed. Click the Continue button.
Note: If you get an error message while importing the file, see troubleshooting tips.
- The Automatic Chapter Titles dialog box is displayed. Click the Get Started button and Kindle Create begins finding potential Chapter Title elements in your eBook.
- The Suggested Chapter Titles dialog box displays a list of possible chapter titles. Uncheck any items that are not chapter headings and then click Accept Selected. The checked items will be part of the Kindle Interactive table of contents and appear in the Body section of the Kindle Create project. From this dialog box, you can also click a chapter heading to go to that section and apply formatting while keeping the Suggested Chapter Titles dialog box open.
- Choose File > Save Project to save your imported eBook. The Save Your Project dialog box opens. Accept or change the file location and name, and then click Save.
Choose your book's language

Choosing chapter titles
Edit your Kindle Create eBook with the KCB file
When you click Save, Kindle Create stores your book's KCB file and other resources in the folder you specify. We recommend saving and backing up the folder that contains the KCB file and related files, which you need to update your book. You can resume a previously saved project by choosing Open an Existing File and selecting the relevant KCB file. You can also select the file from the Recents column or from File > Open Recent.When you click Export, Kindle Create produces a publishable file (KPF) that you can submit to KDP. The KPF file is only used for publishing. The KCB file is for updates.
Create a table of contents
A table of contents (TOC) is important for a good eBook reading experience. It allows readers to navigate between chapters easily.Kindle Create detects possible chapter titles and displays them. After you revise and accept the entries, they're used to create two types of TOCs, the TOC page and the Kindle Interactive TOC.
| Type | Description | Example |
|---|---|---|
| TOC page |
|  |
| Kindle Interactive TOC |
|  |
- Go to the Contents pane.
- Click your first chapter.
- Click the Insert button.
- Choose Table of Contents. The list of detected chapter titles will appear.
- Click OK to accept. Kindle Create will add the TOC page to your book.
When you apply title elements (Chapter Title, Page Title, Book Title, Part Title), they’re used to create a TOC entry. Sections marked with an orange dot aren’t included in the TOC:
If you want a section included in the TOC, apply a title element, usually Chapter Title.
- You can also change the order of chapters by dragging and dropping them.
- To merge a chapter, right-click on the chapter and choose Merge with previous section or Merge with next section.

- To split a chapter, click the location in the chapter body where you want to split it. Next, right-click and choose Split chapter here.

Choose a theme
Located next to the Save button, the Theme button lets you choose from pre-defined book styles. These styles have been created by professional book designers and produce a well-styled eBook that will be easy for your readers to enjoy. Select one of our themes to update your eBook appearance. Any element that you have marked in your eBook is updated to the style defined in the active theme. Modern theme is active by default. These themes cannot be edited by the user.Language note: If your DOC(X) file is in one of the supported Indic languages for eBooks (Hindi, Tamil, Malayalam, Marathi, or Gujarati), Kindle Create only displays two themes: Classic and Modern.
Add front matter
Kindle Create helps you add front matter pages such as title pages and dedication pages in a few clicks. To add a front matter page, click on + sign next to Frontmatter and choose the page you want to insert. Kindle Create allows you to insert the following types of pages:| Page type | TOC entry | Usage |
| Title Page | Title Page | Contains the book title, subtitle, author name and a publisher logo. |
| Copyright | Copyright | Includes information such as copyrights, editions, and publisher. |
| Dedication | Dedication | Where you write a short paragraph dedicating your book to a person or people with explanation why. |
| Epigraph | Epigraph | A quote that complements your book’s subject matter along with the quote attribution. |
| TOC page | N/A | A Table of Contents that lists of the major sections of the book along with the corresponding page number. |
| Foreword | Foreword | Piece of writing at the beginning of a book, typically an introduction written by someone else. |
| Introduction | Introduction | A section to add introductory text for readers. Typically used for nonfiction books. |
| Preface | Preface | Introduction to the book written by the author that provides context for the book or current edition. |
| Prologue | Prologue | Show a preceding event to your story that sets the scene. Typically used for fiction. |
| Standard page | Title of the page will be used | A blank page that can be used to generate any custom type of front matter content. |
Format the first page of each chapter
In the Contents Pane, the first page of every converted section is displayed as a thumbnail. Select a thumbnail and that section is displayed in the Edit Pane. After you have formatted your front matter, apply the relevant formatting to the beginning of each chapter:- Confirm that all of your chapters were converted correctly. If there seem to be chapters missing in the Contents Pane, they are probably embedded in a previous chapter. Highlight the previous chapter and then scroll through the section in the Edit Pane to locate the buried chapter heading and tag it with the Chapter Title element.
- In the Properties Pane, on the Elements tab, use the options under Common Elements to control the appearance of the first page of each chapter:
- Use Chapter Title to add a font face and size, make an entry in the Kindle Interactive TOC, and add a page break so that the current chapter begins on a new screen.
- Use Chapter Subtitle to decorate and position descriptive text about the chapter below the chapter title.
- Use Chapter First Paragraph to remove any indent from the paragraph and add a drop cap whose appearance is set by the active Theme.
- Adjusting the drop cap coverage: In the Properties Pane, on the Formatting tab, the First Paragraph element applies a drop cap to the first character of a paragraph. If your first character is punctuation, such as a quotation mark, Kindle Create automatically extends the drop cap coverage to include the punctuation and the first letter. For other situations, you can use the Number of Characters control to extend the drop cap, if needed.
- To save your work, click File > Save Project.
Format other text
After you have formatted the first page of each chapter, you can use the Formatting tab of the Properties pane to make any additional formatting changes. Amazon recommends applying Elements before making individual formatting changes, since Elements update positioning and formatting of paragraphs. Text changes that you might find useful on the Formatting tab of the Properties pane include:- Adding Separators, which are a decorative element that indicates a transition in the text.
- Using Block Quote to highlight long quotes that you want to distinguish from your narrative.
- Using Poem to improve the formatting and readability of poetry.
- Formatting special text for storytelling impact:
- Adjusting paragraph indents: You can tweak paragraph indents (both first line and margins) using the Indents controls.
- Adjusting the spacing between paragraphs: In Kindle Create, Elements apply to a single paragraph by default. You can apply the element to consecutive paragraphs and then use the Spacing controls to reduce or eliminate the top or bottom spacing to bring the adjacent paragraphs back together.
- Specifying a Font style. [Language note: If your DOC(X) file is in one of the supported Indic languages (Hindi, Tamil, Malayalam, Marathi, or Gujarati), the Font options are grayed out because they are unavailable.]
Note: If you specify a font to identify your special text in Kindle Create, readers will not be able to change that font on Kindle devices and reading applications, so this feature should be used sparingly.
Amazon encourages authors to use creative styles for headings, special paragraphs, footnotes, tables of contents, etc., but the majority of body text should be all defaults. The reason for this is that any styling on body text overrides the user's preferred default reading settings and users report this as a poor reading experience.
Add back matter
Kindle Create allows you to easily add back matter pages like Epilogue, About the author, and more in a few clicks. To add a back matter page, click on + sign next to Backmatter and choose the page you want to insert. Kindle Create allows you to insert the following types of pages:| Page type | TOC entry | Usage |
| Epilogue | Epilogue | Concluding section of your story |
| Afterword | Afterword | A closing statement or comment. For example, how the book came into being |
| Acknowledgements | Acknowledgements | Section to thank people or sources that helped create the book |
| About the author | About the author | Short blurb and image of the author, used for marketing purposes |
| Praise for the author | Praise for the author | Quotes and attributions in praise of work by the author |
| Books in this series | Books in this series | Add Amazon links to more books in a series so that readers can find them easily |
| Books by author | Books by author | Add Amazon links to more by the author so that readers can find them easily |
| List of characters | List of characters | Page to display a list of characters in the book |
| Standard page | Title of page will be used | A blank page that can be used to generate any custom type of back matter content |
Edit text
For eBooks imported from a DOC(X) file, you can edit the text in Kindle Create. The most frequent reasons are to correct typos and spacing issues. Tables, footnotes, lists, and inline images imported from your DOC(X) file cannot currently be edited in Kindle Create. Make any changes needed in the source file and then re-import it.Note: When formatting text, apply fonts to paragraphs only when you have to differentiate them from the rest of the body text. Applying a font to all of the body text leads to a poor experience for readers because they can't choose their preferred font on their device.
Add text
If you have a lot of text to update, you can copy the text from a DOC(X) file and paste it in the Edit Pane. Pasted text takes on the formatting active at the cursor location in the Edit Pane. Copy and paste commands are available from the Edit menu or by shortcut: CTRL + C for Copy (CMD + C for Mac users), CTRL + V for Paste (CMD + V for Mac users).Add or change images
Kindle Create provides support for inserting, resizing, and deleting images. You can edit the size and alignment of your images with options based on professional book layouts. Kindle Create requires images in the JPG or PNG format and recommends at least 100 pixels on the longest side and 300 pixels per inch to ensure image clarity on Kindle HDX devices. Images inside a paragraph (inline images) can't be edited, but you can delete those images in the source and then insert them in Kindle Create. If you have issues, please contact us.Add images
To add a JPG or PNG image to your eBook:- Right-click the location where you want to insert the JPG image and select Insert Image from the pop-up menu. The Insert Image window appears. Choose the image you want to add and click Open.

- Your image is added and the Image Properties are displayed in the Properties Pane:
- Alt Text: Add a description of the image in Alt Text for visually-impaired users. If the image is purely decorative and does not add meaning, you can check the box to exclude it from the screen reader.
- Size: Select one of the display size options for your image. There are multiple options ranging from Small (33%) to Full (100%).
- Position: Choose the position and text wrapping options for this image. (This option is not displayed for Large and Full images, which are automatically centered.)
- Bleed: Extending images to the edge of the page or screen is called "bleed"; select whether your full-size image should do this. You can experiment with both options to see what feels right for your book. (This pre-release option is only displayed if the image size is Full; see Note above):
- By default, the image position is set to Place within margin.
- If you want the image to extend past the left and right margins, choose Place to edge.
Note: At this time, choosing Place to edge means that customers can only read your book in portrait mode, which could frustrate some customers. We're working to fix this. When this issue is fixed, your book will automatically support reading in portrait and landscape.
Insert chapter start images
Chapter start images allow you to add an image to the top of the first page of your chapter that extends to the top, left, and right edges of the page. To insert a chapter start image:- Select a chapter by clicking on the chapter in the panel on the left.
- Click the insert button on the top bar and select Chapter Start Image. A pop-up will open.
- From the pop-up, select your image, select the height of the image (25% of the page or 33% of the page), and choose how it would look on various screens and orientations by specifying the focus points of the image. You can also insert the alt-text for your image on this screen.
Replace images
To replace an image, right-click the image and select Replace Image from the pop-up menu. If you need to change the Image Properties, see Adding Images for details on Alt Text, Size, and Position.Delete images
To delete an image, right-click the image and choose Delete Image from the pop-up menu.Insert, edit, and remove external hyperlinks
With Kindle Create, you can insert hyperlinks to webpages into your eBook. External links should enhance the reader experience. See our guidelines for links.To insert a hyperlink:
- Highlight the text you want to hyperlink.
- Right-click. A pop-up menu will appear.
- Click Insert Hyperlink. A dialog box will appear.
- Enter the address of the webpage you want to link to.
- Click Insert Hyperlink. You can also insert hyperlinks by clicking the Insert button above the Contents panel in Kindle Create.
- Highlight the hyperlink text.
- Right-click. A pop-up menu will appear.
- Click Edit Hyperlink. A dialog box will appear.
- Edit the display text or the address of the linked webpage.
- Click Insert Hyperlink.
To remove a hyperlink:
- Highlight the hyperlink text.
- Right-click. A pop-up menu will appear.
- Click Remove Hyperlink.
Prepare your book for print
Kindle Create helps you prepare your book for both digital and print publishing with the same project file. It will automatically resize the content and margins for any trim size you choose.To help in print preparation, Kindle Create also offers the following:
- Page numbering: By default, Kindle Create assigns the first page of your body section to be page 1, with front matter pages getting roman numbering. If you have a TOC page in your book, it will be created with the page numbers next to the chapters in the print version.
- Headers and footers: Click the Print Settings button in the top-right corner of Kindle Create. This opens a window with several options to change the alignment and position of the author name, book title, and page numbers. Headers and footers are not available for eBooks, only for paperbacks. The previewer may show a header for eBooks, which is usually generated from the metadata in the imported file, however, the final eBook will show a header based on the book title metadata.
- Page spreads: Kindle Create automatically calculates the right spread for your pages. Pages like title and chapter pages automatically print on the right side.
- Widows and orphans: Kindle Create automatically optimizes your book to minimize widowed and orphaned paragraphs in your book. Widows and orphans are lines at the beginning or end of a paragraph which are left dangling at the top or bottom of a page or column, separated from the rest of the paragraph.

